How to Photograph Clothing Without a Model
How to photograph clothing without a model: flat lay, hanger, ghost mannequin and AI model photos, with setup tips so your listings look professional.

Haziq Qasmi
· 10 min read

You can photograph clothing without a model and still get professional listings. There are four ways to do it: flat lay, hanger, ghost mannequin, and turning one of those photos into an on-model photo with AI. This guide shows how to set each one up at home with a phone, which to use for which product, and how to avoid the mistakes that make listings look amateur.
What you need
You do not need a studio or an expensive camera.
- A phone from the last few years
- Soft light, ideally a large window with no direct sun
- A plain background: a white wall, a white sheet or a large piece of foam board
- A steamer or iron
- Pins or clips to shape the garment from behind
- A small tripod or a stack of books to keep the phone steady
Method 1. Flat lay
A flat lay is the garment laid on a flat surface and shot from straight above.
- Lay a white sheet or board on the floor or a large table near the window.
- Steam the garment and lay it flat. Smooth the sleeves and hem so the shape is clear.
- Fold sleeves in slightly to show the waist, or angle them for a more relaxed look.
- Stand above it and hold the phone parallel to the floor, right above the centre.
- Take the full garment with a little space around it, then a few close-ups of fabric, print and labels.
Best for: T-shirts, knitwear, kids clothes, accessories and styled outfit shots for social media.
Method 2. Hanger shots
- Hang the garment on a plain wooden or black hanger against a white wall.
- Steam it in place so it hangs straight.
- Shoot from the middle of the garment, at the same height, so it does not look distorted.
Best for: Dresses, shirts and anything with drape. It is also the quickest method if you shoot a lot of stock.
Method 3. Ghost mannequin
A ghost mannequin photo shows the garment as if an invisible person is wearing it.
- Dress a mannequin, ideally one with a removable neck and chest piece.
- Pin the garment at the back so it fits closely.
- Photograph the front and back, then photograph the inside of the collar on its own.
- Remove the mannequin in editing and combine the photos.
Best for: Jackets, shirts and structured pieces. It takes more time and editing than the other methods.
Method 4. Turn your photo into an on-model photo with AI
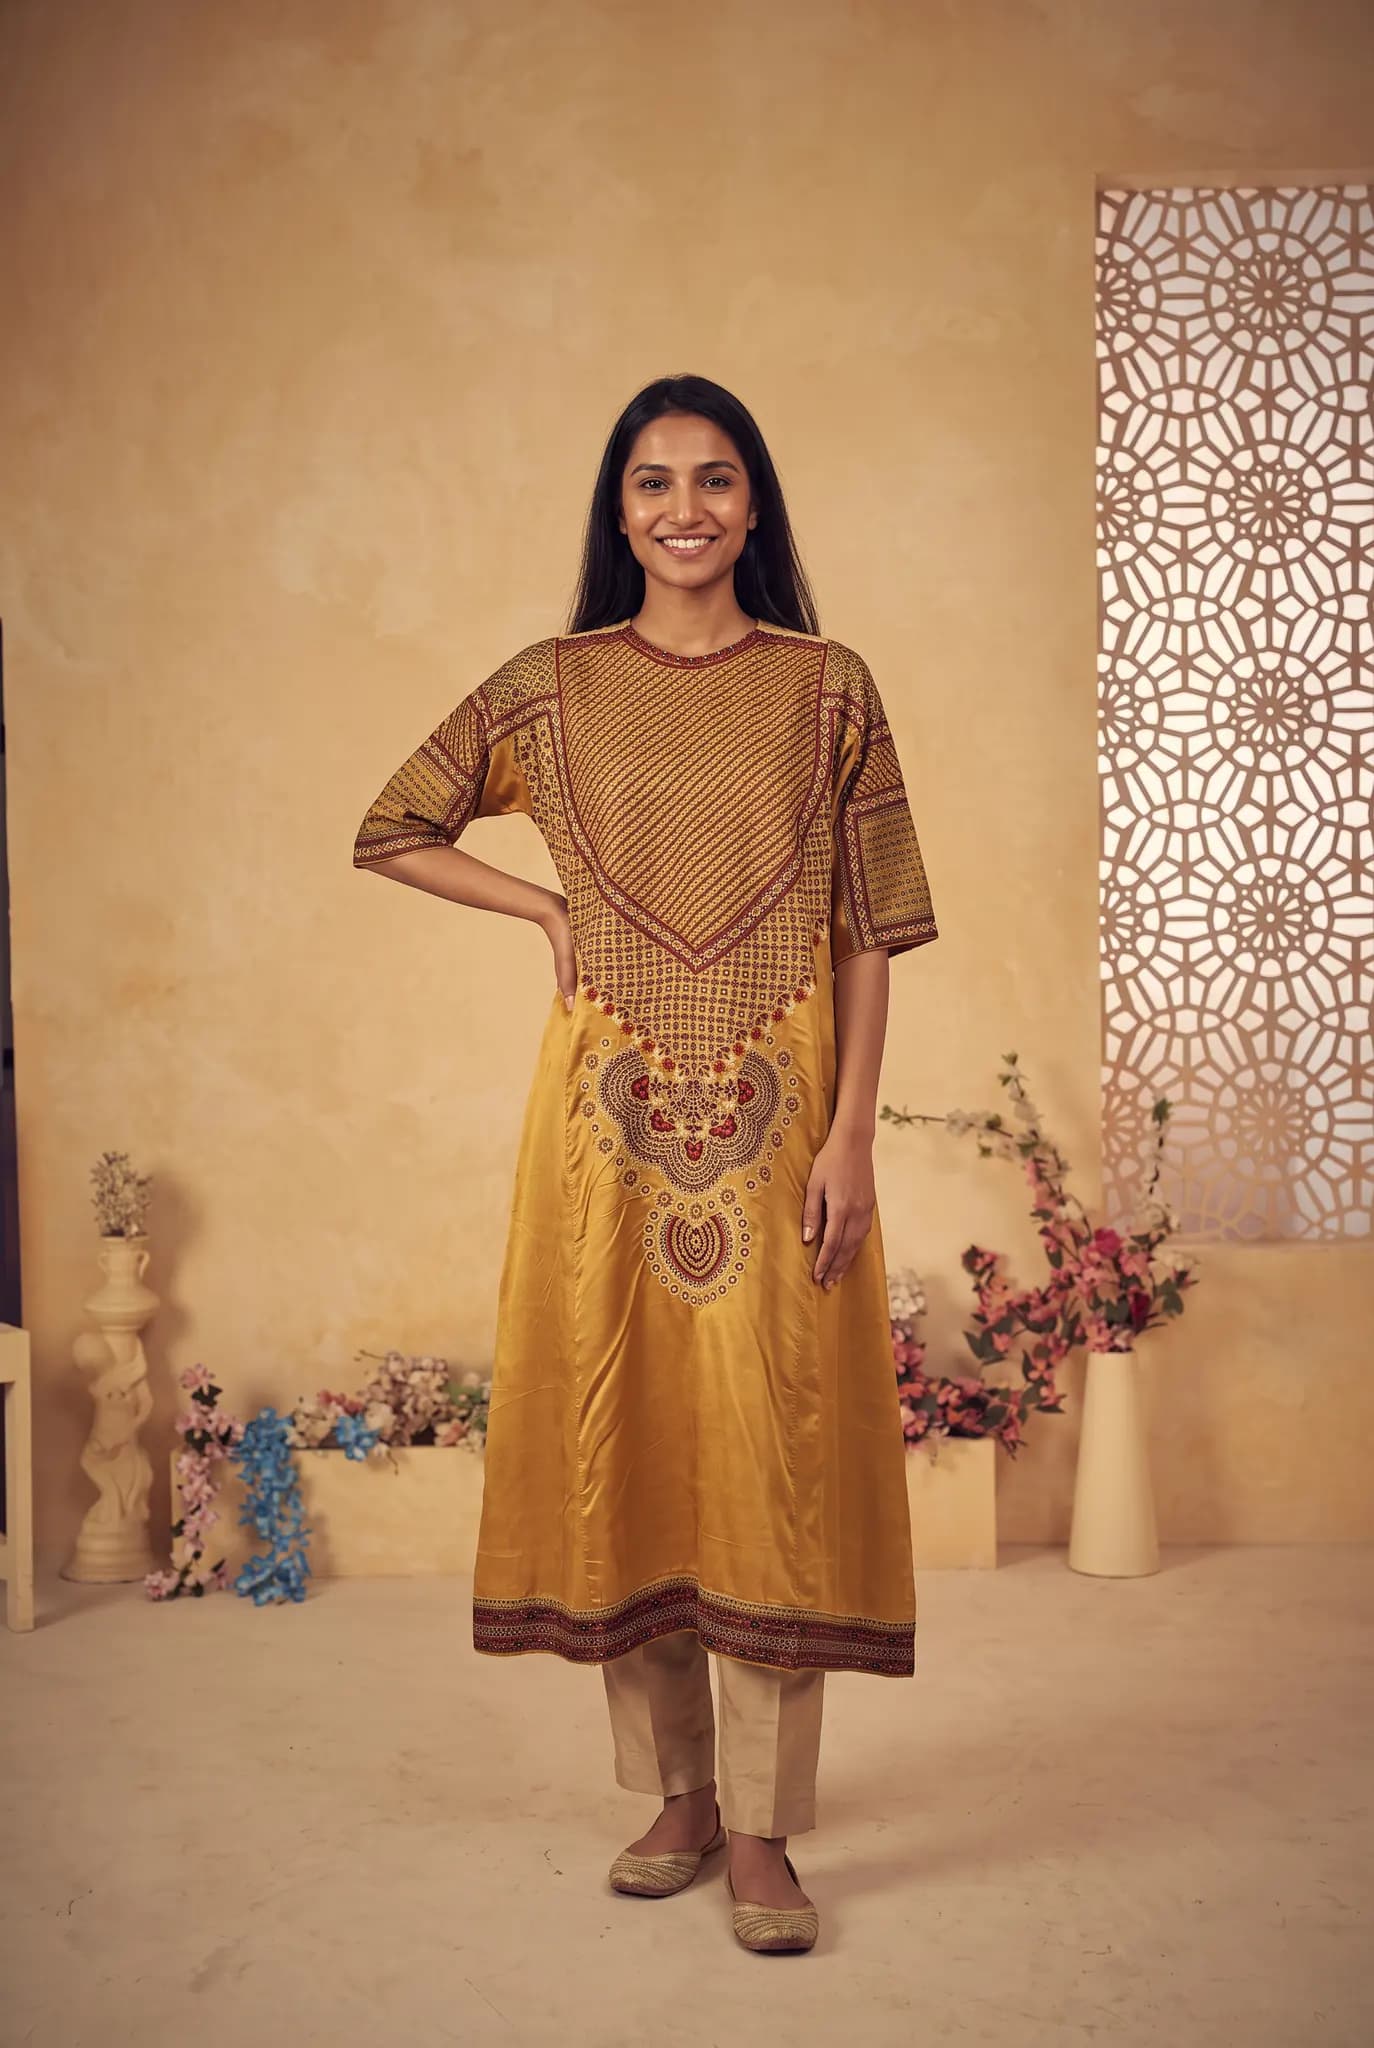
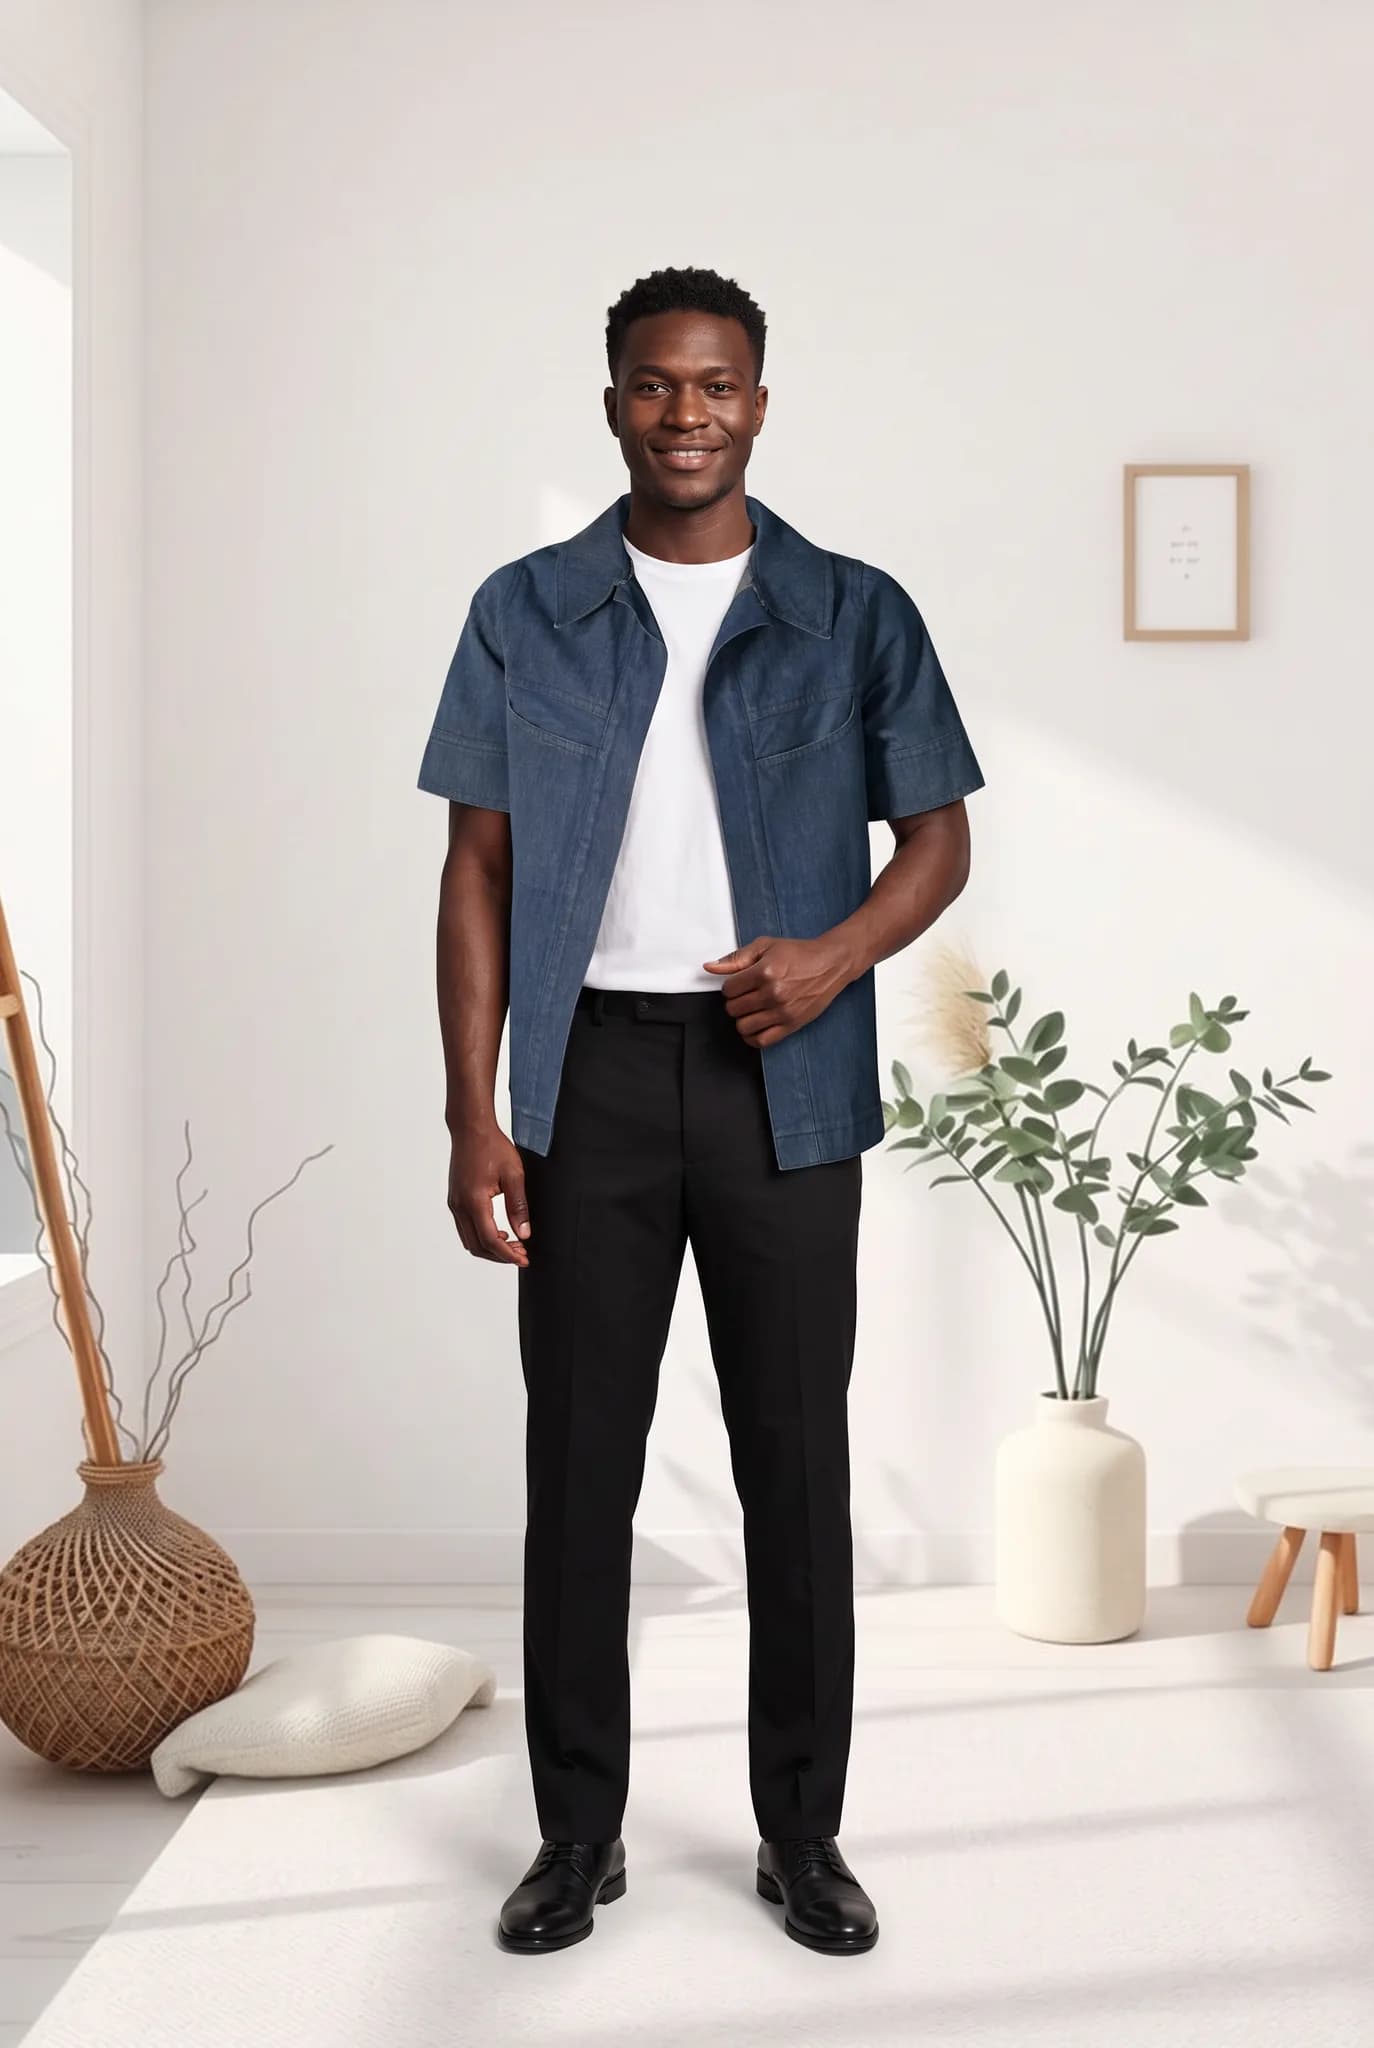
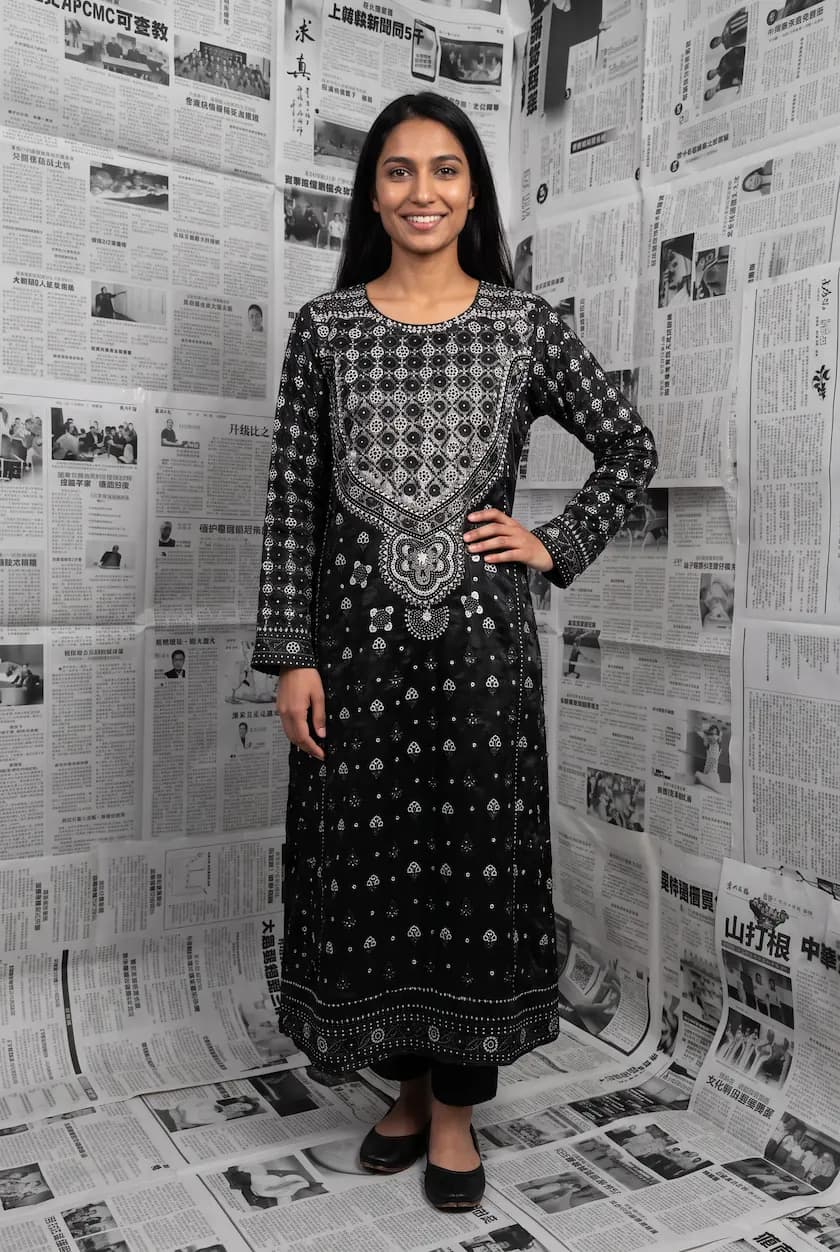
Shoppers still want to see clothes on a person. They want to know the fit and length. With AI you can take any of the photos above and turn it into an on-model photo without hiring a model.
- Take a clean flat lay, hanger or ghost mannequin photo using the steps above.
- Upload it to an AI model photo tool such as Modelfy. There is no prompt to write.
- Choose a model, a pose and a background.
- Check the result against the real garment: colour, print, length and details.
- Make the back view and a few lifestyle photos with the same model.
Best for: The main image on your product page, ads and social media, where fit and style sell the piece.
Our step-by-step guide on the best way to turn flat lay clothing into model photos covers this in detail.
Which method should you use?
| Method | Cost | Time per product | Shows fit | Best use |
|---|---|---|---|---|
| Flat lay | Almost free | A few minutes | No | Detail and colour |
| Hanger | Almost free | A few minutes | A little | Drape |
| Ghost mannequin | Mannequin and editing | Longer | Shape only | Clean catalog images |
| AI model photo | From about 11 cents a photo | Minutes | Yes | Main image, ads, social |
Most good listings combine methods. Use an AI on-model photo as the main image, then a flat lay or hanger shot and one real close-up of the fabric.
Lighting tips that make the biggest difference
- Turn off the overhead lights. Mixing room lights with daylight gives odd colours.
- Shoot when the light is soft, on a bright overcast day or away from direct sun.
- Use a white board on the side away from the window to fill in shadows.
- Never use the phone flash.
- Check the colour on screen against the real garment before you move on.
Mistakes that make clothing photos look amateur
- Creases. Steam everything. Creases look worse in photos than in real life.
- Busy backgrounds. A bed, carpet or patterned floor pulls attention away from the product.
- Cropped edges. Show the whole garment, including sleeves and hem.
- Different setups for each product. Shoot everything in the same spot and light so your store looks consistent.
- Only one photo. Shoppers want a front, a back, a detail and a photo that shows fit.
How much does it cost to skip the model?
Flat lay, hanger and ghost mannequin photos cost almost nothing beyond your time. AI on-model photos on Modelfy cost from about 11 to 90 cents each, depending on your plan and the quality you choose, and you can try up to 5 photos free. A model, photographer and studio for one day usually costs far more, and you pay it again for every new collection.
Start with the photo you already have
If you have a flat lay or hanger photo of a product, you are one step from an on-model photo. Create a free Modelfy account, upload it and see your garment on a model in a few minutes. No card is needed.
Was this article helpful?
Filed under Tutorial, Comparison
See your own garment on a model
Upload a phone photo of a piece you sell. Your 10 free credits make up to 5 photos, and a photo is usually ready within minutes.
Start for free