
Tutorials

Written, step-by-step guides for the Modelfy studio.

Step-by-step tutorials for your first AI fashion shoot, saving your own AI model, building a full product page set, making catalog images and adding images to your store.

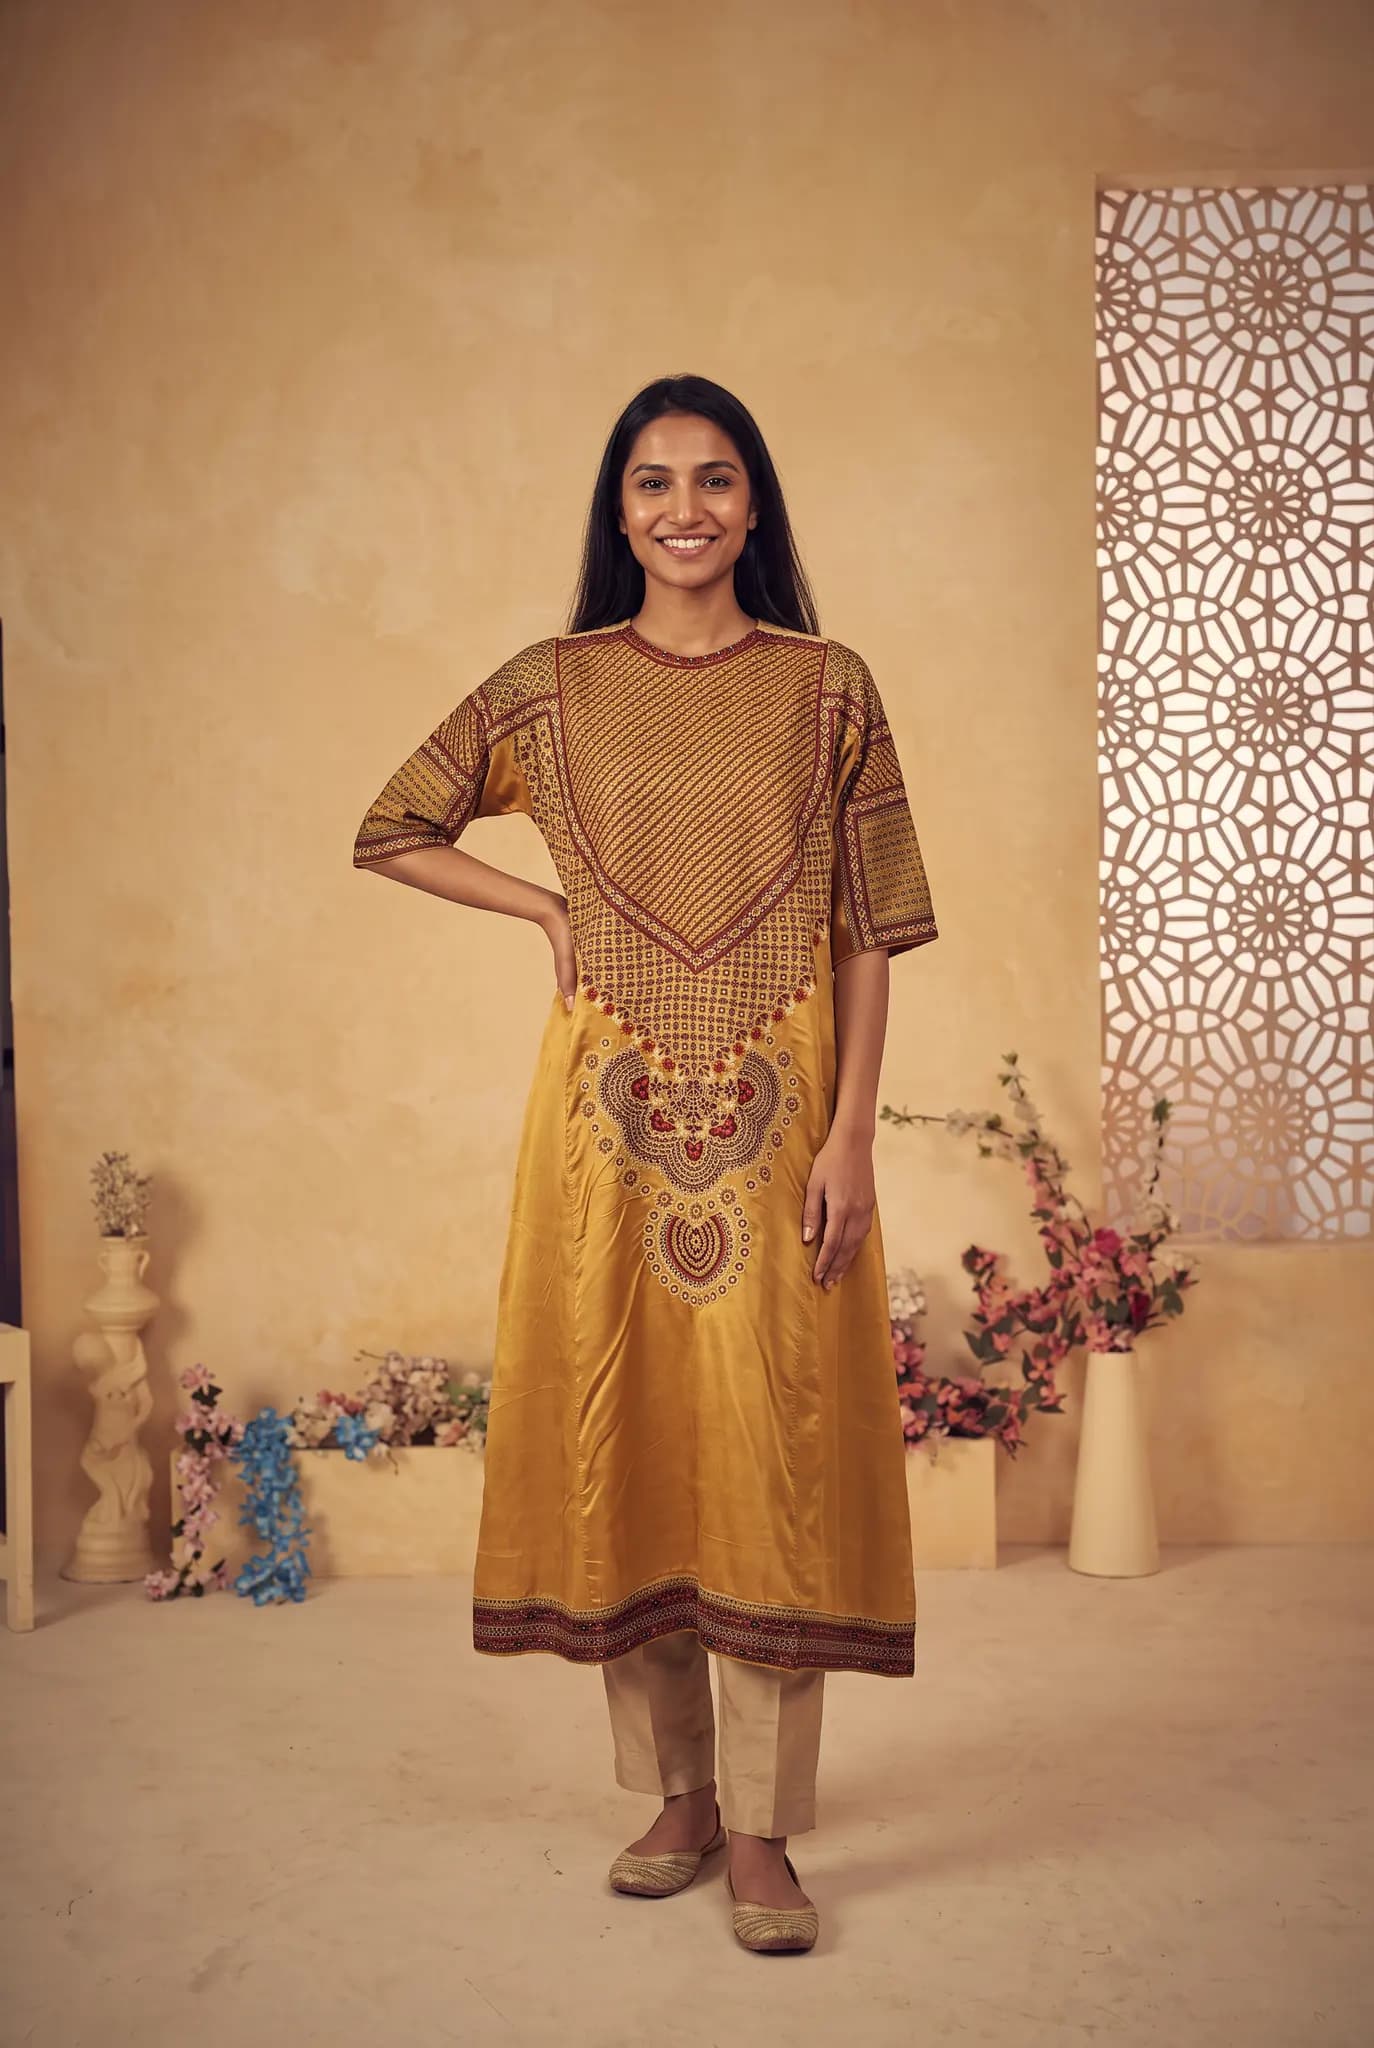
AI model in the mustard silk kurta, in a warm room with a carved screen
Generated with Modelfy
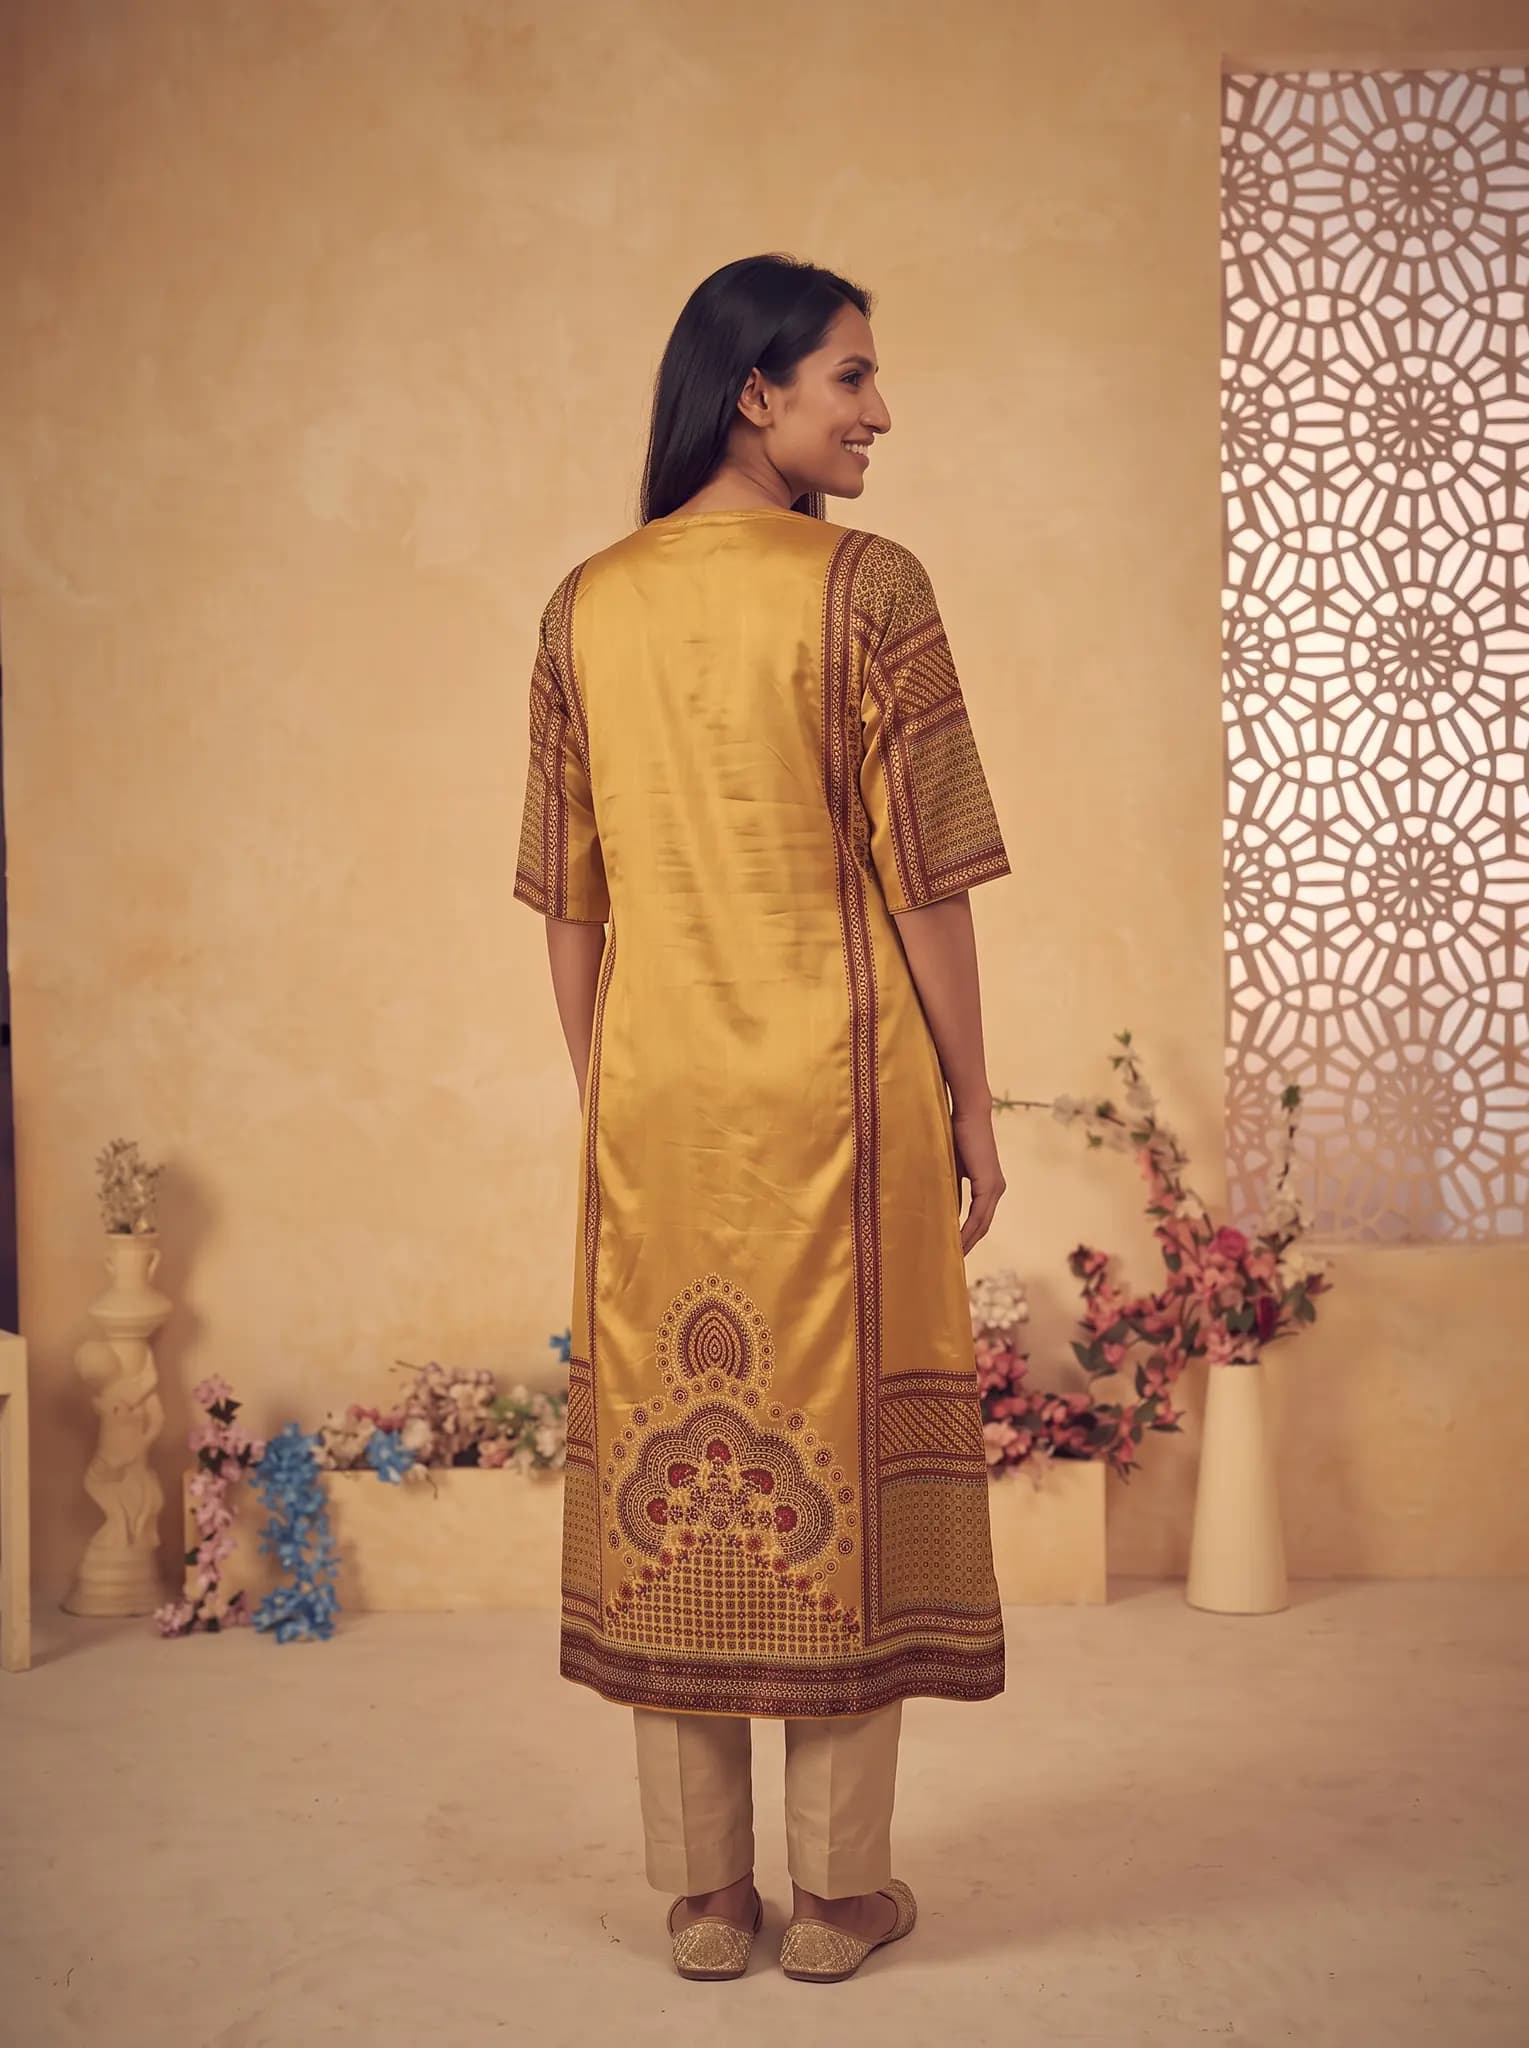
Back view of the mustard silk kurta on an AI model
Same garment, back view

Start with your first shoot, then build from there

These tutorials run from the very first upload to a finished product page. They are written for clothing sellers, so no technical background is needed. Button names in the studio may differ slightly as we improve things.

If you are new, do the first tutorial with a real product. It takes a few minutes, and everything else builds on it.

What you will learn

  • How to run a first shoot from a phone photo
  • How to save an AI model to reuse across a collection
  • How to make a full set of images for a product page
  • How to add your images to Shopify, WooCommerce and other stores

A sensible order to follow

  1. Run one shoot

    Get a feel for the result and how long it takes.

  2. Save your model

    Pick the look of your brand and keep it.

  3. Build a full set

    Add angles and detail shots for a real product.

  4. Publish it

    Add the set to your store and see how it looks there.

AI model in a mustard silk kurta with a maroon printed yoke
Generated with Modelfy

How the tutorials are organized

Beginner

Your first shoot, and how to save a model. Start here to lay the groundwork.

Product pages

How to make a set of angles and close-ups, plus clean catalog images.

Store workflow

How to use your Modelfy images in Shopify and WooCommerce stores, by hand.

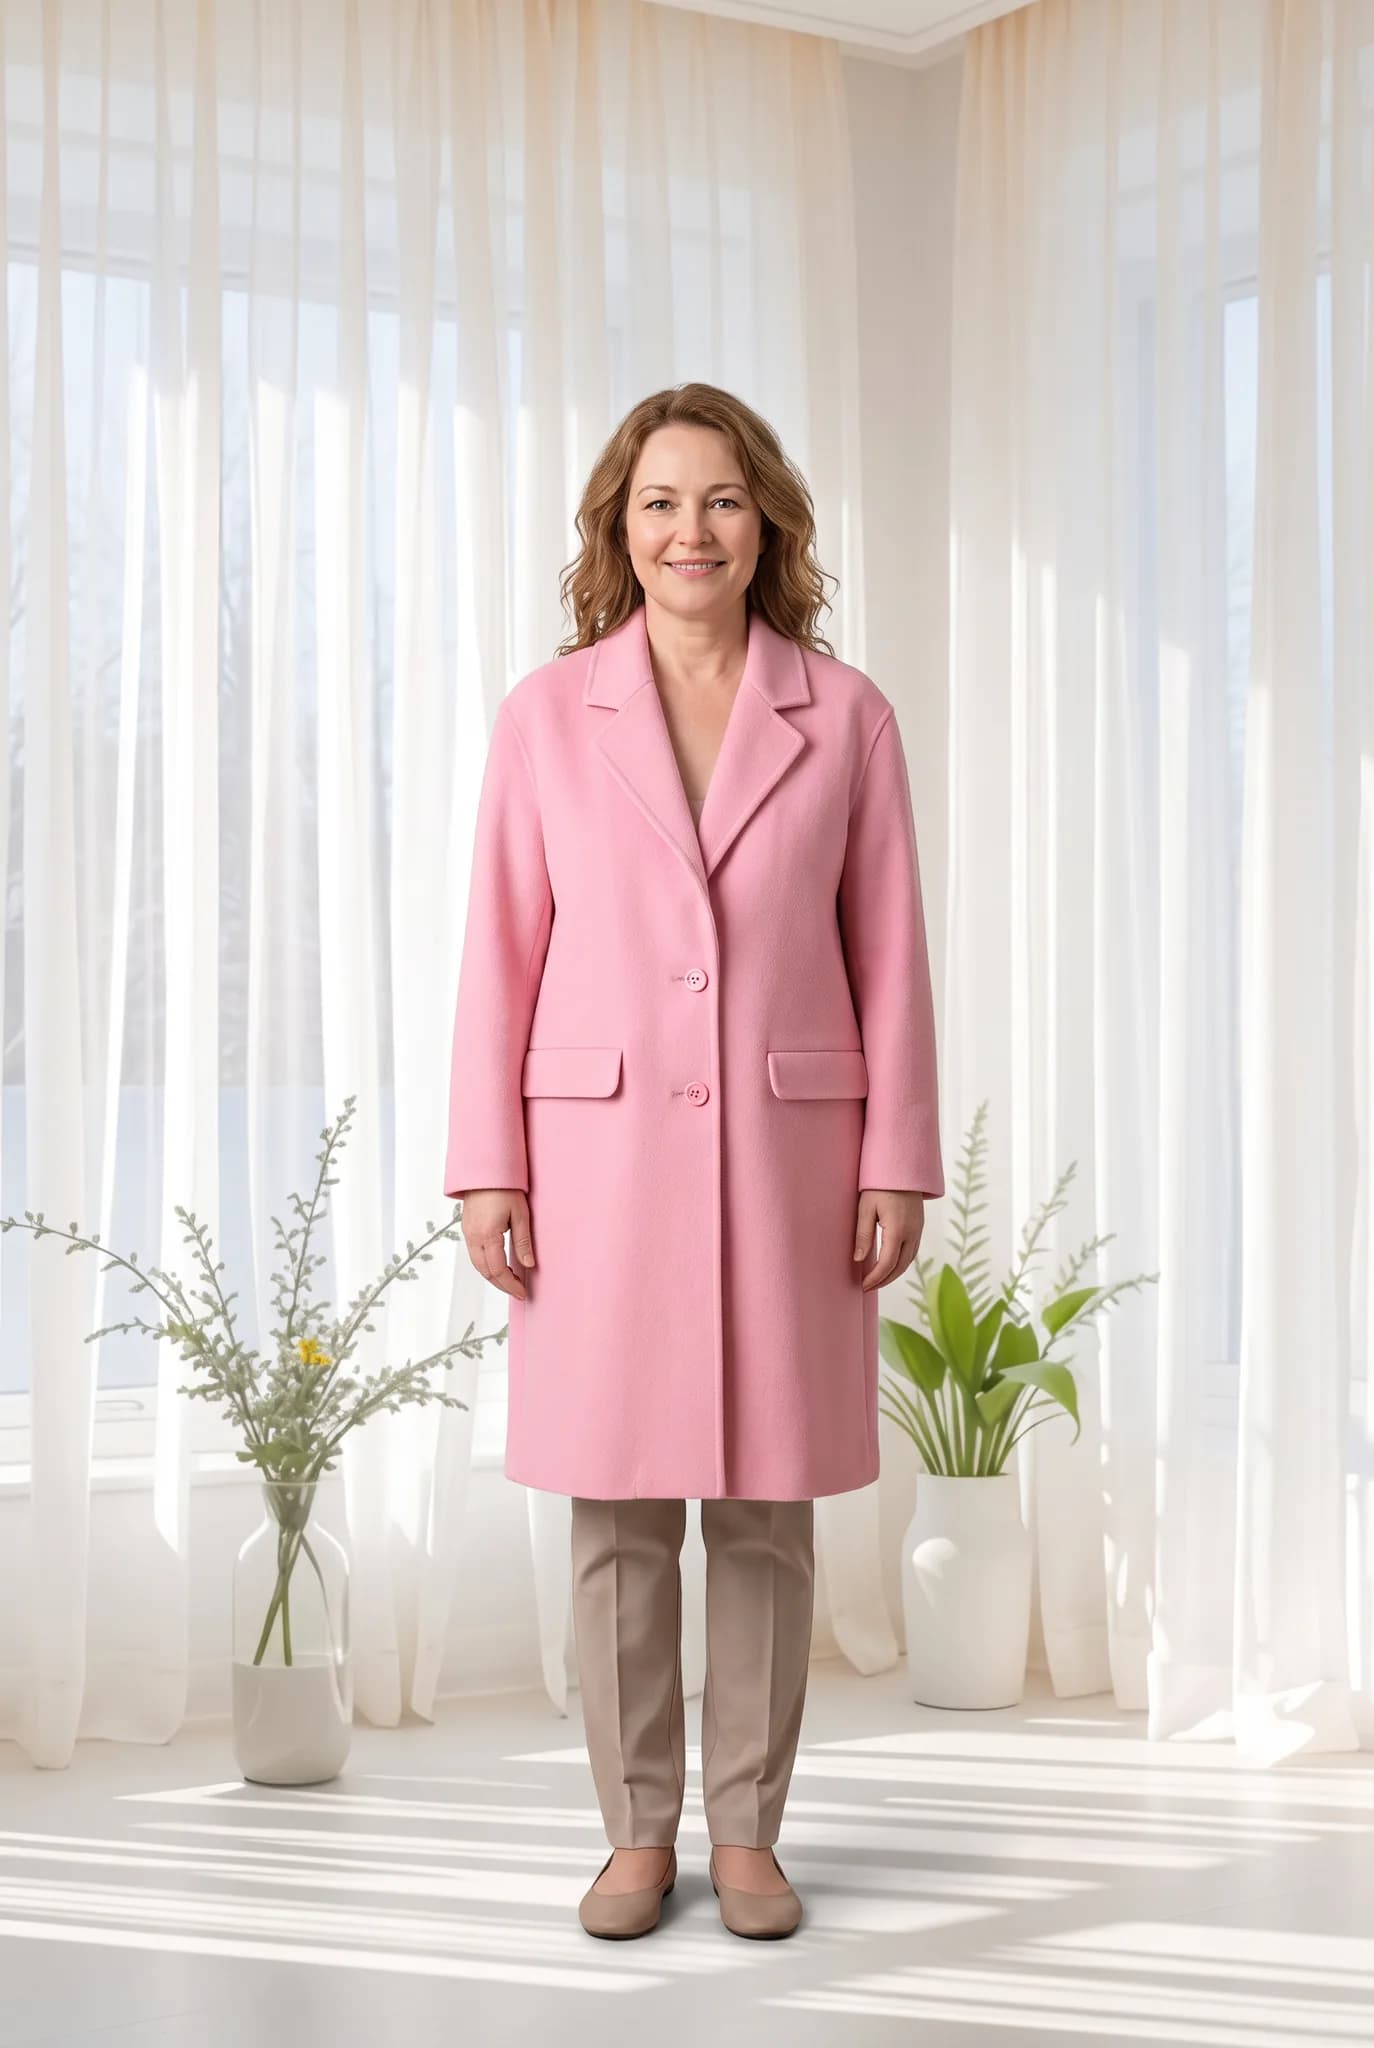
AI model in a pink wool coat beside sheer white curtains
A different model
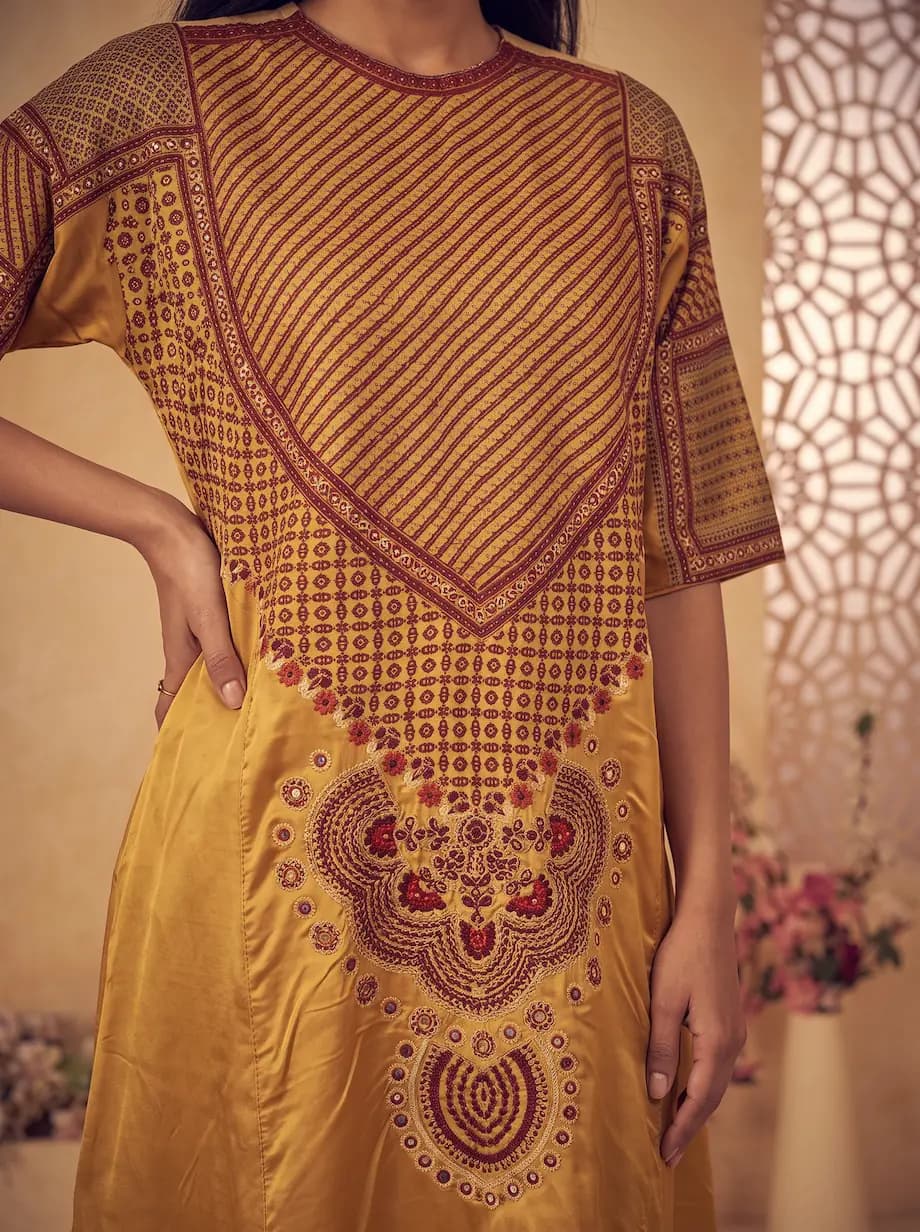
Close-up of the maroon printed yoke on the mustard silk kurta
A close-up of the print

Your first shoot

This starts at 2 credits. A new free account has 10.

  • Take a photo of a garment on a hanger in daylight, with all of it in frame.
  • Sign in to the studio and open Photoshoot, also shown as Instant Shoot.
  • Upload your photo.
  • Choose a model, a pose and a background.
  • Check the credit cost and generate. It is usually ready within minutes.
  • Compare the result with the real garment, then download or try again.

Create and save your own AI model

This uses 8 credits, and lets you use the same model for every product.

  • Open Create Model in the studio.
  • Describe the model you want, or start from reference photos. Only use photos you have permission to use.
  • Generate and review the model.
  • Save it to your library and give it a clear name.
  • Choose it from your library on your next shoot.

Build a full product page set

A strong listing often has a main image, a back view, another pose and a close-up.

  • Add front and back photos of the same garment to your library.
  • Make your main image with a Photoshoot, using your saved model.
  • Open Angle drafts to try different angles and poses.
  • Render the drafts you like in higher quality.
  • Add a close-up of the print or fabric if the piece relies on detail.

Make ghost mannequin and flat-lay images

Use these when a listing or marketplace needs a garment with no person in it.

  • Open Ghost Mannequin or Flat-lay in the studio.
  • Upload a clear photo of your garment.
  • Check the credit cost and generate.
  • Compare the shape and the details with the real garment before you use it.

Add your images to Shopify or WooCommerce

There is no direct integration. The process is the same as adding any other photo.

  • Download your images from the gallery. Paid plans download at 2K.
  • Crop them if your theme needs a different shape.
  • In Shopify, open the product and add the files under Media. In WooCommerce, use the Product Image and Product Gallery boxes.
  • Put your best image first and write clear alt text for each one.
  • Look at the page on your phone, as that is where many buyers will see it.

A few honest notes

  • These are written guides. We do not have a video course at the moment.
  • Your results may look different from our examples, because they depend on your garment and photo.
  • Each new generation uses credits, so plan your tries when you are on free credits.

What it costs

A photo uses 2 to 12 credits and creating an AI model uses 8. The studio shows the cost before you generate.

Free account
10 one-time credits, up to 5 photos. No card.
14-day Silver trial
100 credits, up to 50 photos. Card required, $0 today.
Silver
$29 a month for 400 credits, up to 200 photos.
Gold
$79 a month for 1,200 credits, up to 600 photos.
Studio
$199 a month for 3,500 credits, up to 1750 photos.
See all plans and credit packs

Which tutorial should I do first?

Your first shoot. Everything else builds on it.

Do I need a paid plan to follow these?

You can do the first one with your 10 free credits. For the full product page set, you will want the trial, a plan or a credit pack.

Can someone help me if I get stuck?

Yes. Send us a message on WhatsApp or email [email protected].

Follow along with your own garment.

Get a photo ready, sign up free and start with the first tutorial.

Start your first shoot

Have a question? Ask us.

Not sure whether Modelfy suits your clothes, or which plan to choose? Send us a message, or chat with us on WhatsApp.

Usually the quickest way to reach us
Chat on WhatsApp+92 335 1228674
Email for this topic
[email protected]
Where we are
Karachi, Pakistan
What is this about?

Ask us anything about Modelfy, your plan or whether it suits your products.

Fields marked * are required.