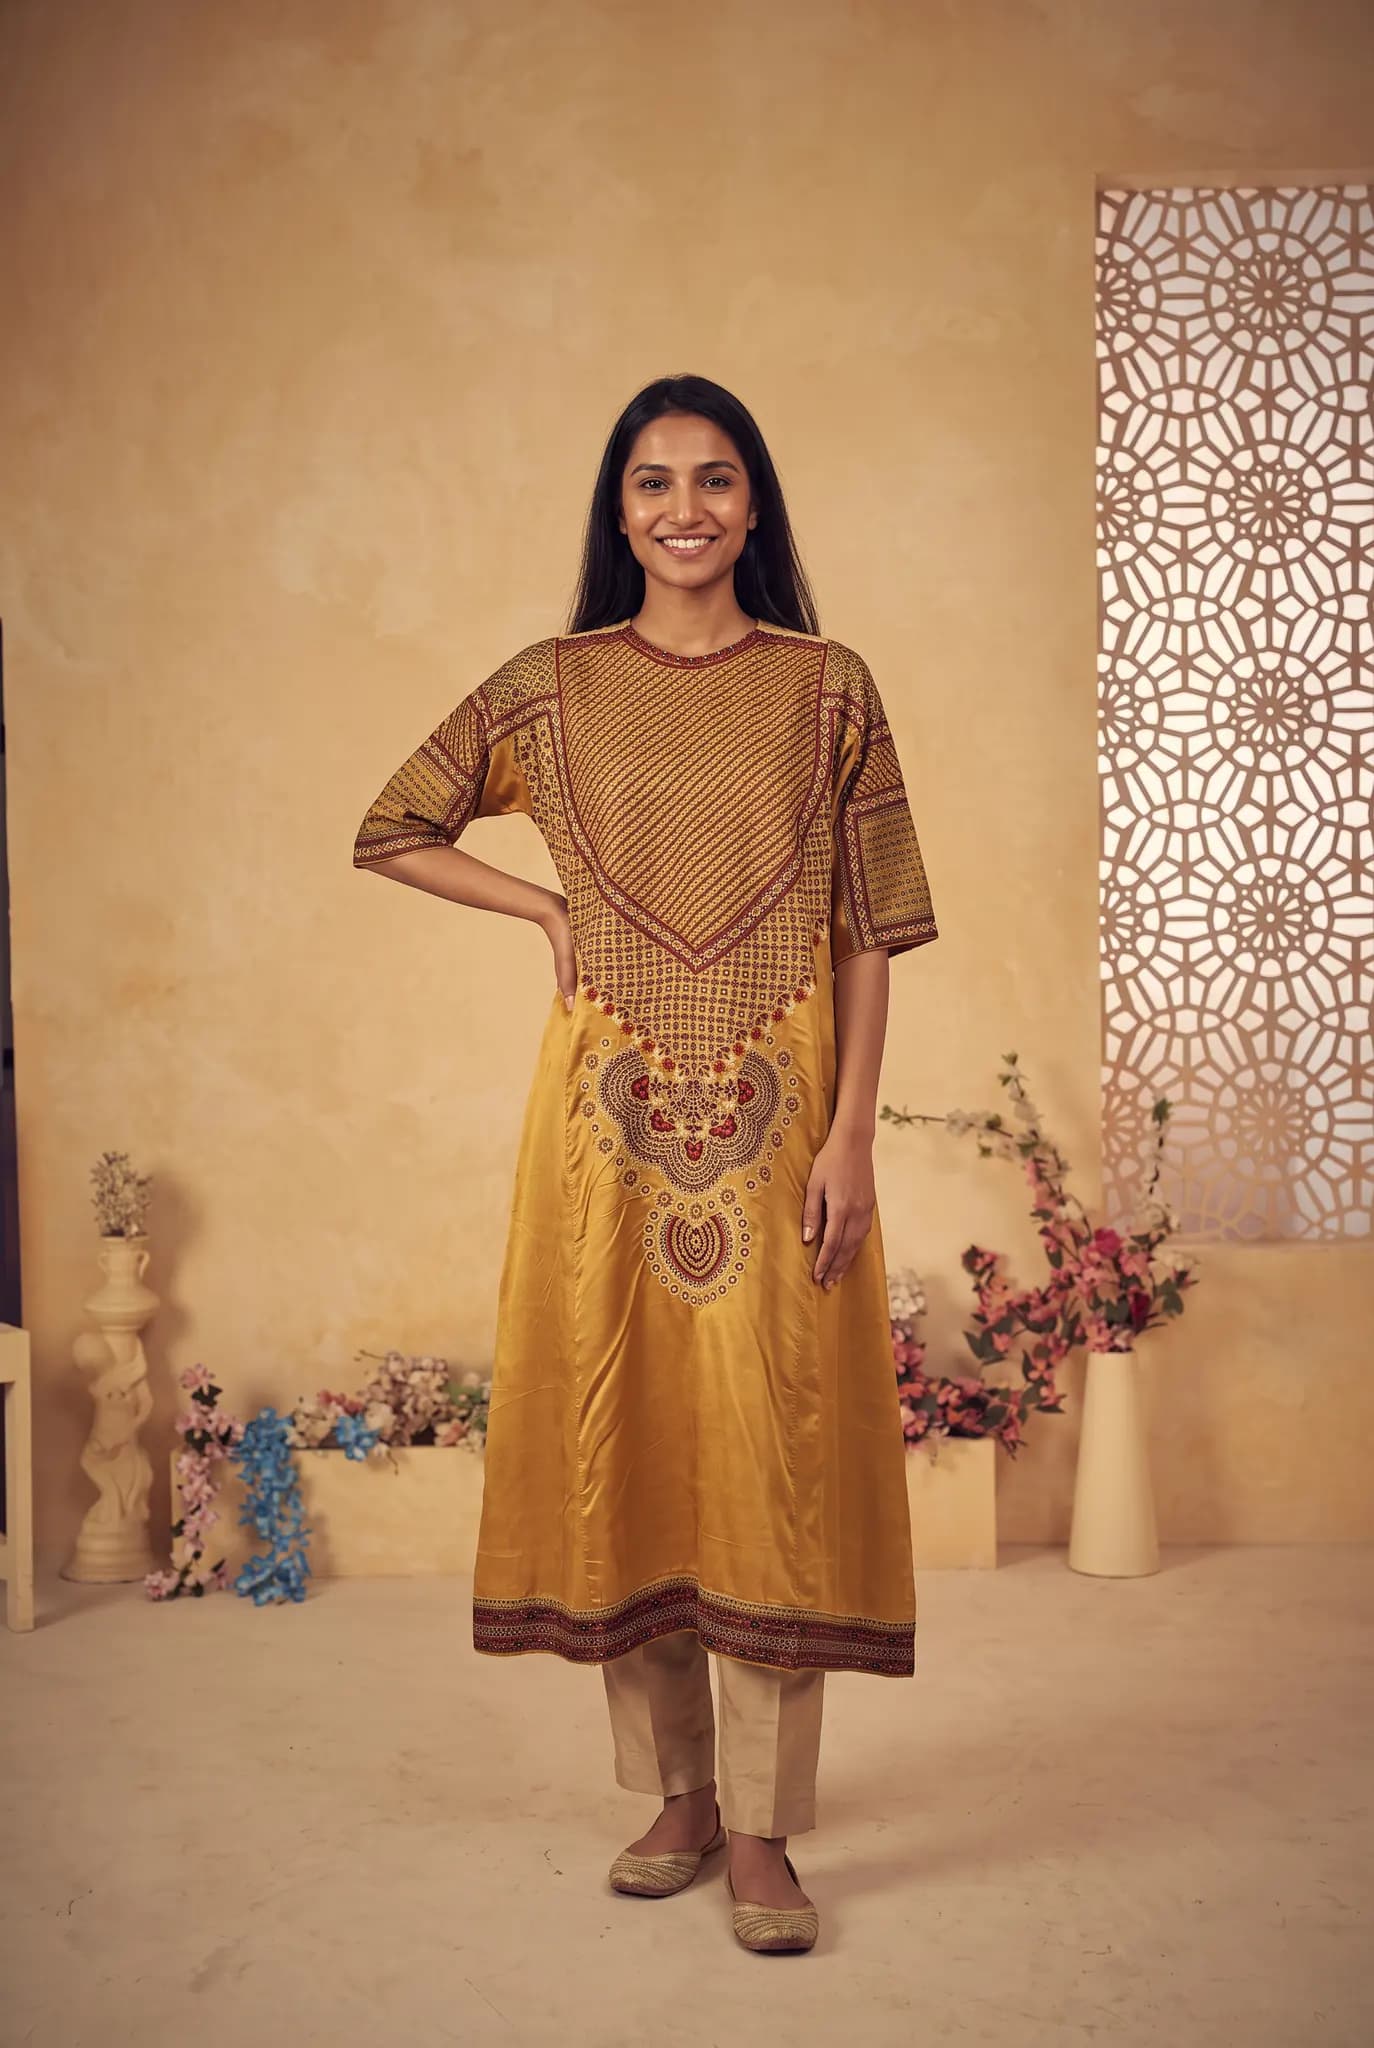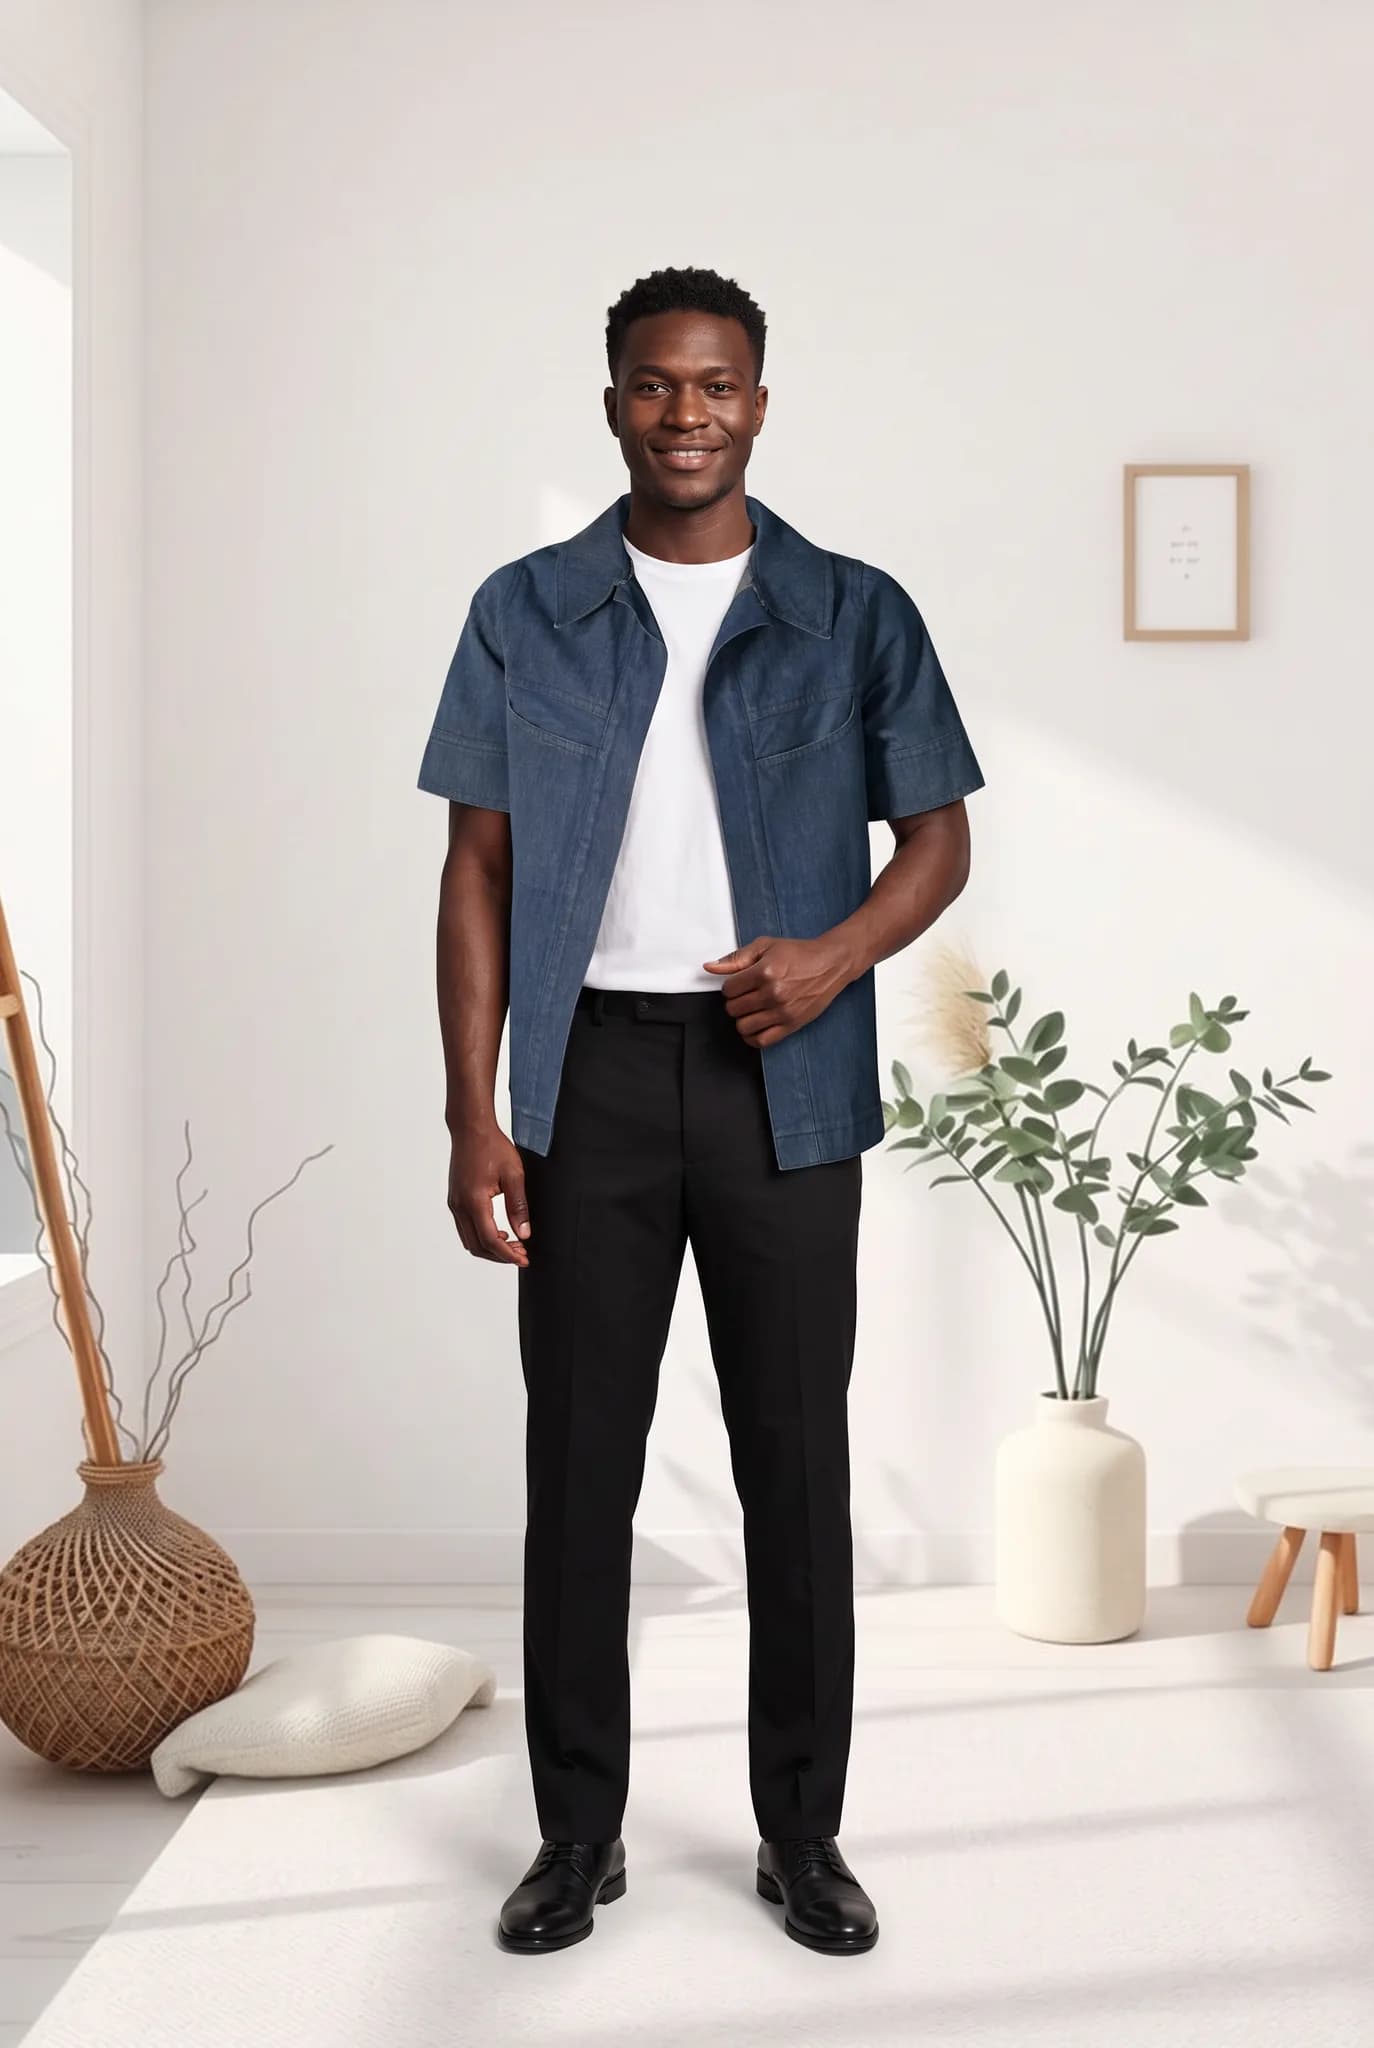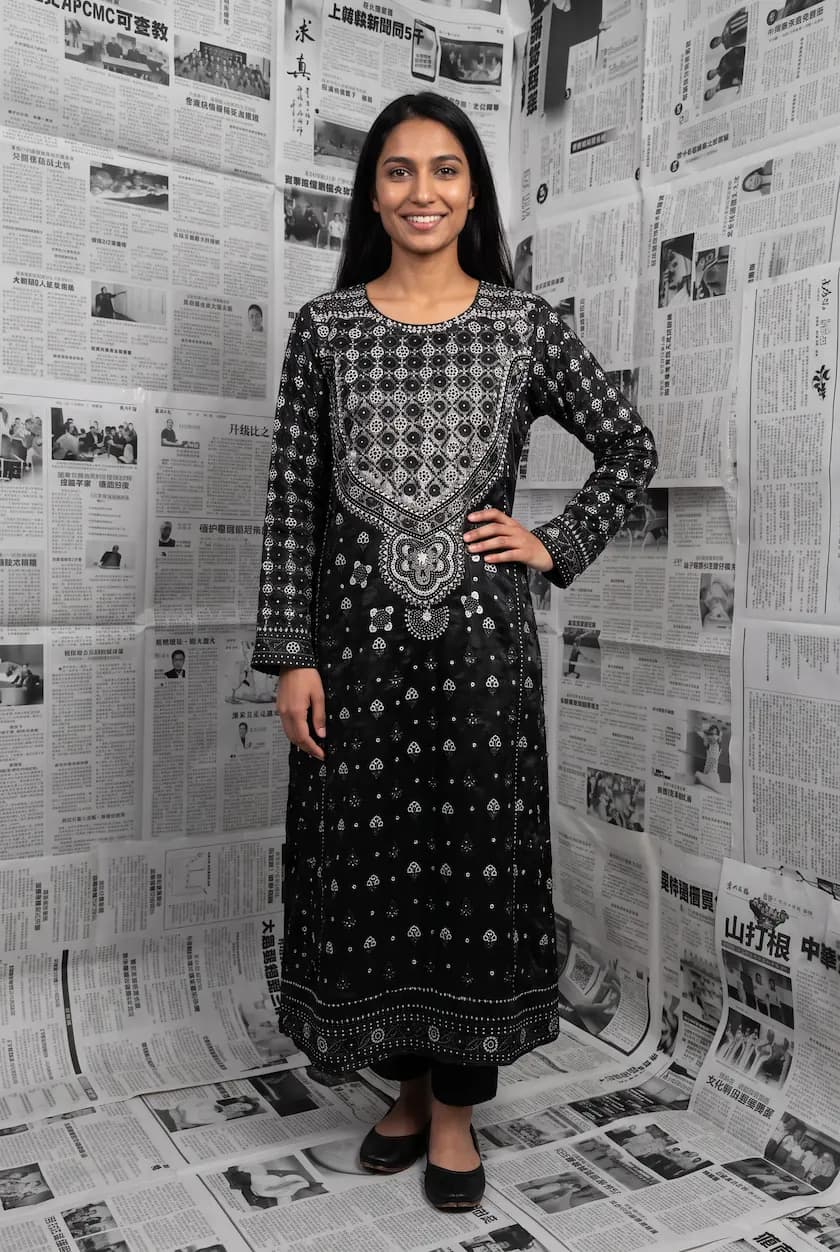
The Best Way to Turn Flat Lay Clothing Into Model Photos
A step-by-step guide to turning a flat lay or hanger photo of your clothing into a realistic on-model photo with AI, plus how to shoot the flat lay so it works.

Haziq Qasmi
· 8 min read
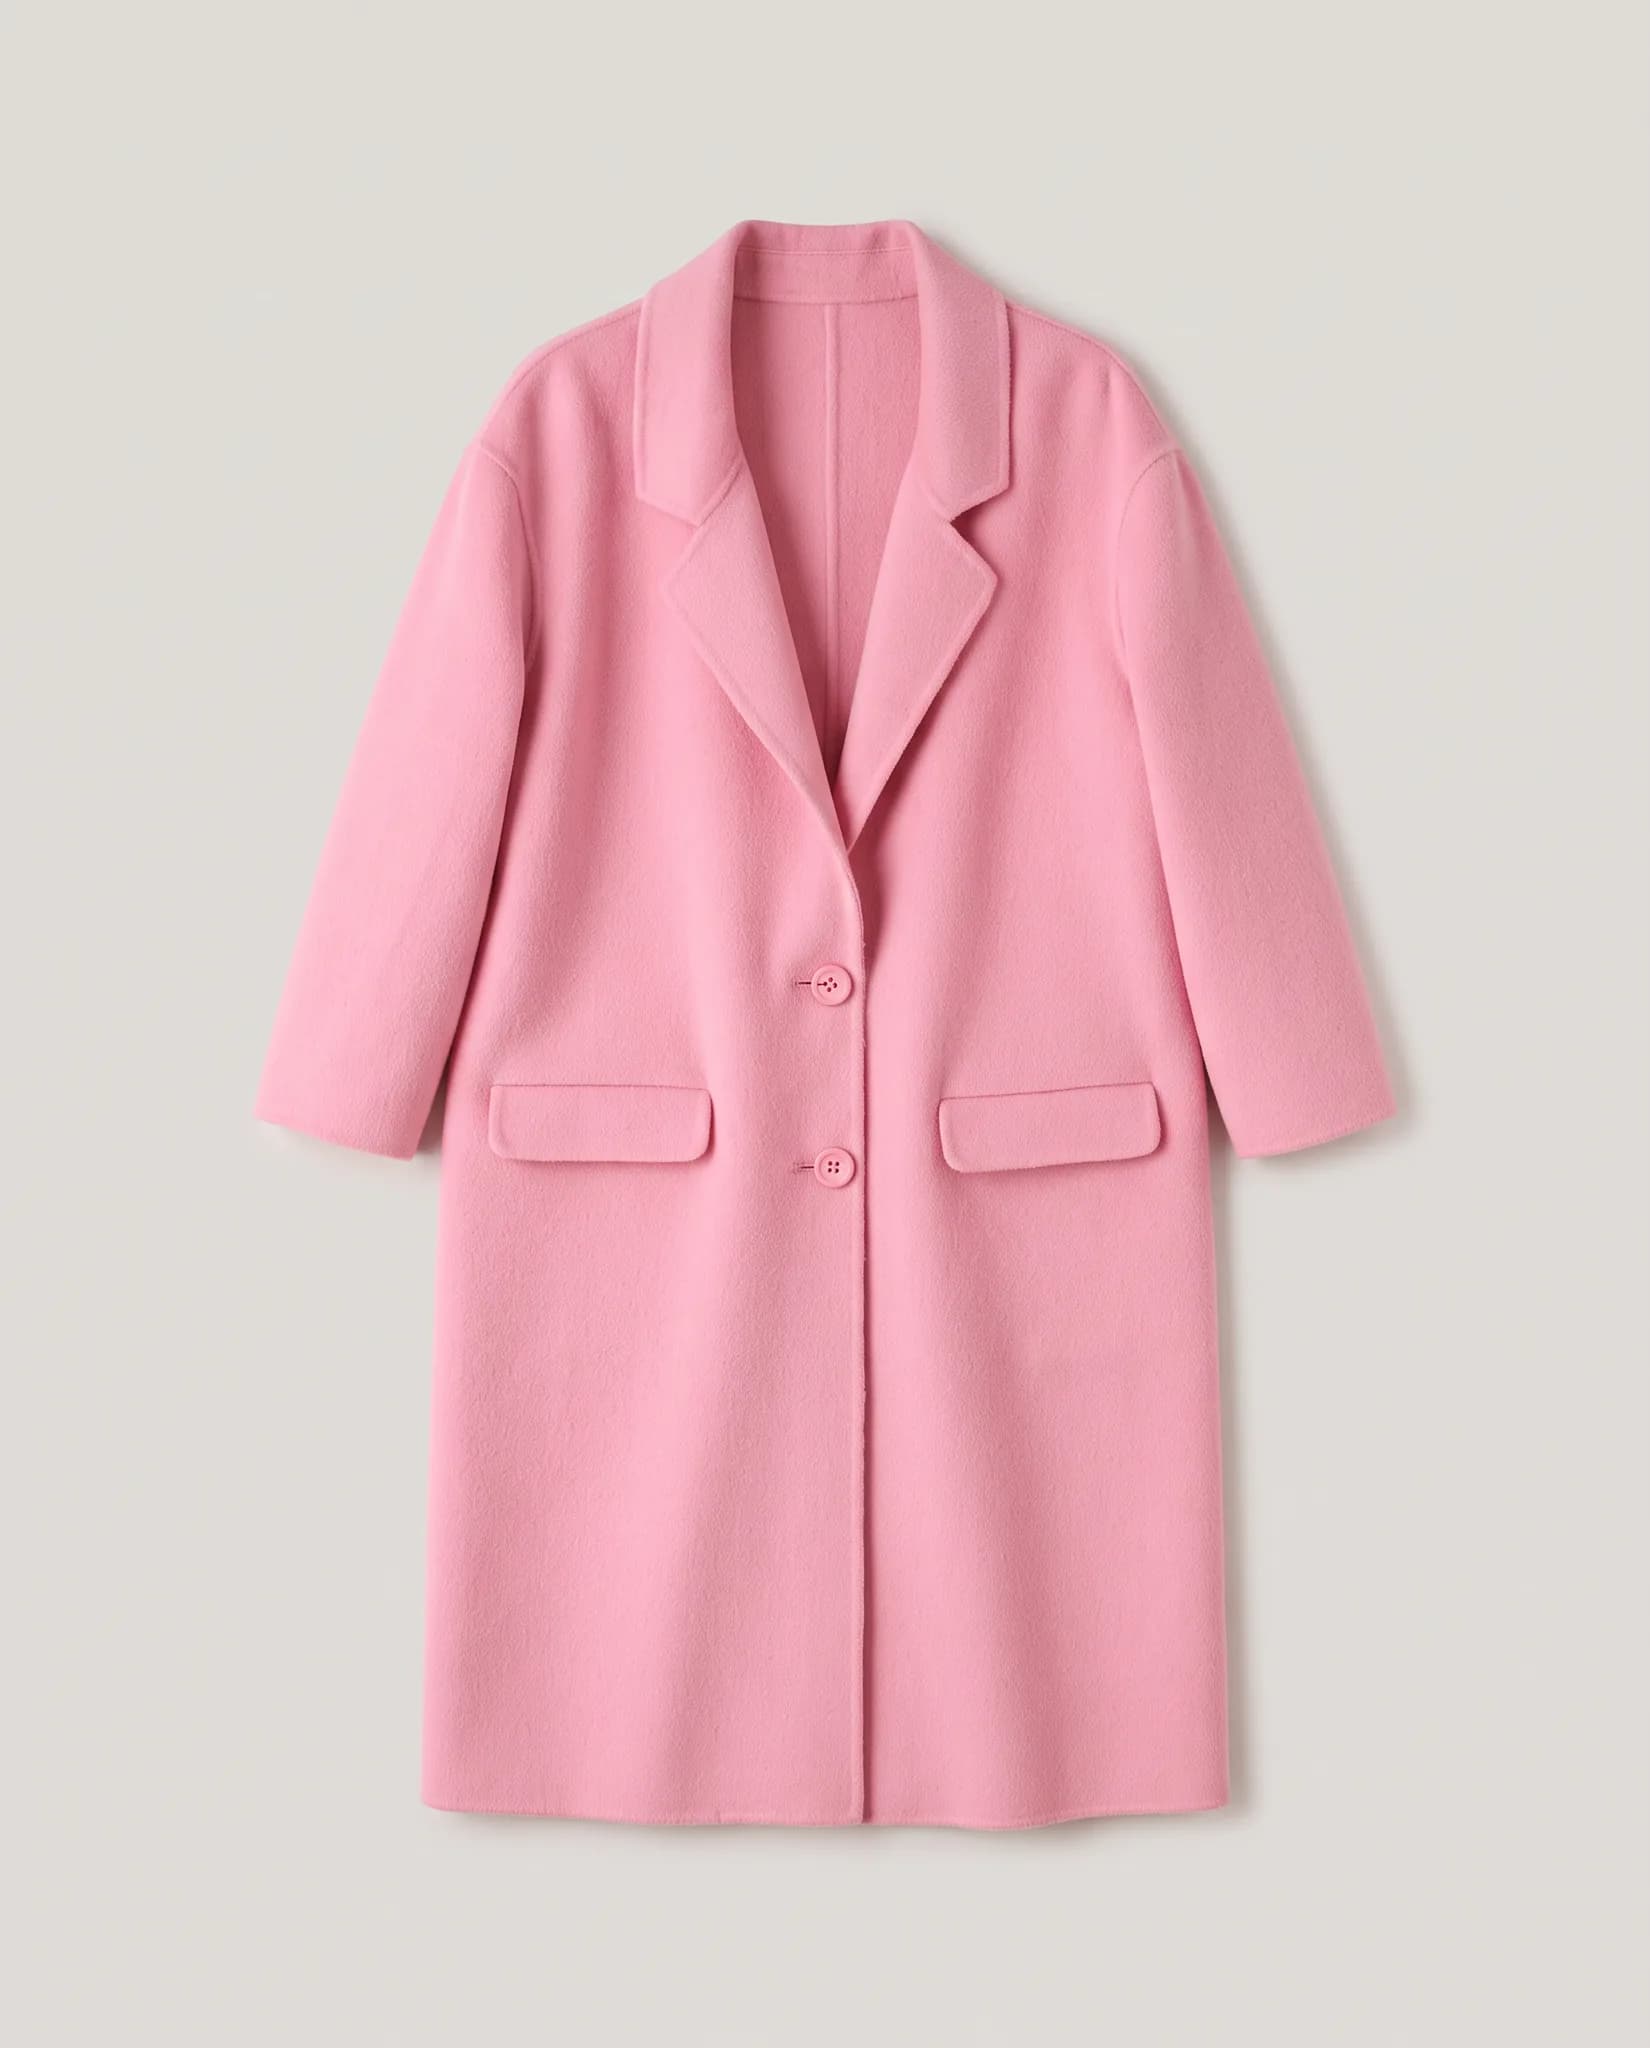
A flat lay is the cheapest product photo you can take. Put the garment on a clean surface, stand over it and take the picture. The problem is that shoppers want to see clothes on a person. They want to know how it fits, how long it is and how it moves.
AI can now take that flat lay and put the garment on a realistic model. This guide shows the best way to do it, from taking the photo to checking the result.
Why put a flat lay on a model at all?
Flat lays show the garment clearly, but they hide the most important thing a shopper wants to know, which is how it looks when worn. On-model photos answer questions about length, fit and drape before the shopper has to ask. They also look like the rest of a fashion feed, so they work better in ads and on social media.
Until recently the only way to get them was a photoshoot. Now you can make them from the photo you already have.
Step 1. Take a good flat lay
The result can only be as good as the photo you start with. You do not need a professional camera. A recent phone is fine. What matters is this:
- Light. Use soft daylight from a window, or two lamps on each side. Avoid direct sun and the phone flash, which make harsh shadows.
- Background. A plain, light surface with nothing else in frame. A white sheet or a large piece of card works well.
- Flat and smooth. Iron or steam the garment. Creases in the flat lay can turn into odd folds on the model.
- The whole garment. Keep every edge in the frame, including sleeves and hems. Leave a little space around it.
- Straight above. Hold the phone parallel to the floor, right above the middle of the garment.
- True colour. Turn off beauty filters and check the colour on screen matches the real fabric.
Hanger photos and ghost mannequin photos work too. The same rules apply.
Step 2. Upload it to an AI model tool
In Modelfy you upload the photo in the studio. There is no prompt to write. The studio cuts the garment out of the background and reads its shape, colour and details on its own.
Step 3. Choose the model, pose and scene
Pick who wears it and where. You can choose from ready-made AI models, or create your own and save it so every product in a collection is worn by the same person. Then choose a pose and a background, such as a clean white studio for your product page or a warm indoor room for social media.
Step 4. Generate and check the result
Your photo is usually ready within minutes. Before you use it, check it against the real garment:
- Is the colour right?
- Are prints, logos and stitching in the right place?
- Is the length right? A cropped top should still look cropped.
- Do buttons, pockets and zips match the real piece?
If something is off, generate again or try a different pose. Some poses show a garment better than others.
Step 5. Make the rest of the set
One photo is rarely enough for a product page. Once you like the first result, make the back view, a close-up and one or two lifestyle shots with the same model. A full set from one flat lay makes the listing look complete.
Flat lay, hanger or mannequin. Which works best?
| Starting photo | How easy to take | How well it works for AI | Tip |
|---|---|---|---|
| Flat lay | Very easy | Good for most garments | Iron it and shoot straight from above |
| Hanger | Easy | Good, shows drape | Use a plain wall behind it |
| Ghost mannequin | Harder | Very good, shows shape | Make sure the neck and sleeves are clean |
| Phone photo on a person | Easy | Good | Keep the whole garment in frame |
What can go wrong
AI model photos have limits, and it is better to know them up front.
- Very sheer or shiny fabrics are harder to show accurately.
- Tiny text and very detailed prints may need a close-up photo of the real garment next to the AI photo.
- Blurry or dark starting photos give weaker results. Retake the flat lay rather than spending credits on retries.
You should always check each photo before it goes on your store, because shoppers return items that do not match the pictures.
What makes a tool the best for this job?
When you compare tools for flat lay to model photos, look for these things:
- It keeps your garment. Colour, print and logo should stay true to the original, not be redrawn.
- No prompts. You should not have to learn how to write instructions to get a good photo.
- Reusable models. The same model across a collection makes your store look consistent.
- Clear pricing. You should see the cost of each photo before you make it.
- A free way to try it. Test it on your own garment, not only on the examples a tool shows you.
Modelfy was built only for clothing, so it is designed around those five points. You can read more on our flat lay to model page.
Try it on your own garment
The fastest way to know if it works for your products is to try it. A free Modelfy account gives you 10 credits, up to 5 photos, with no card needed. Upload a flat lay and see your garment on a model in a few minutes.
Was this article helpful?
See your own garment on a model
Upload a phone photo of a piece you sell. Your 10 free credits make up to 5 photos, and a photo is usually ready within minutes.
Start for free